
Soups & Stews
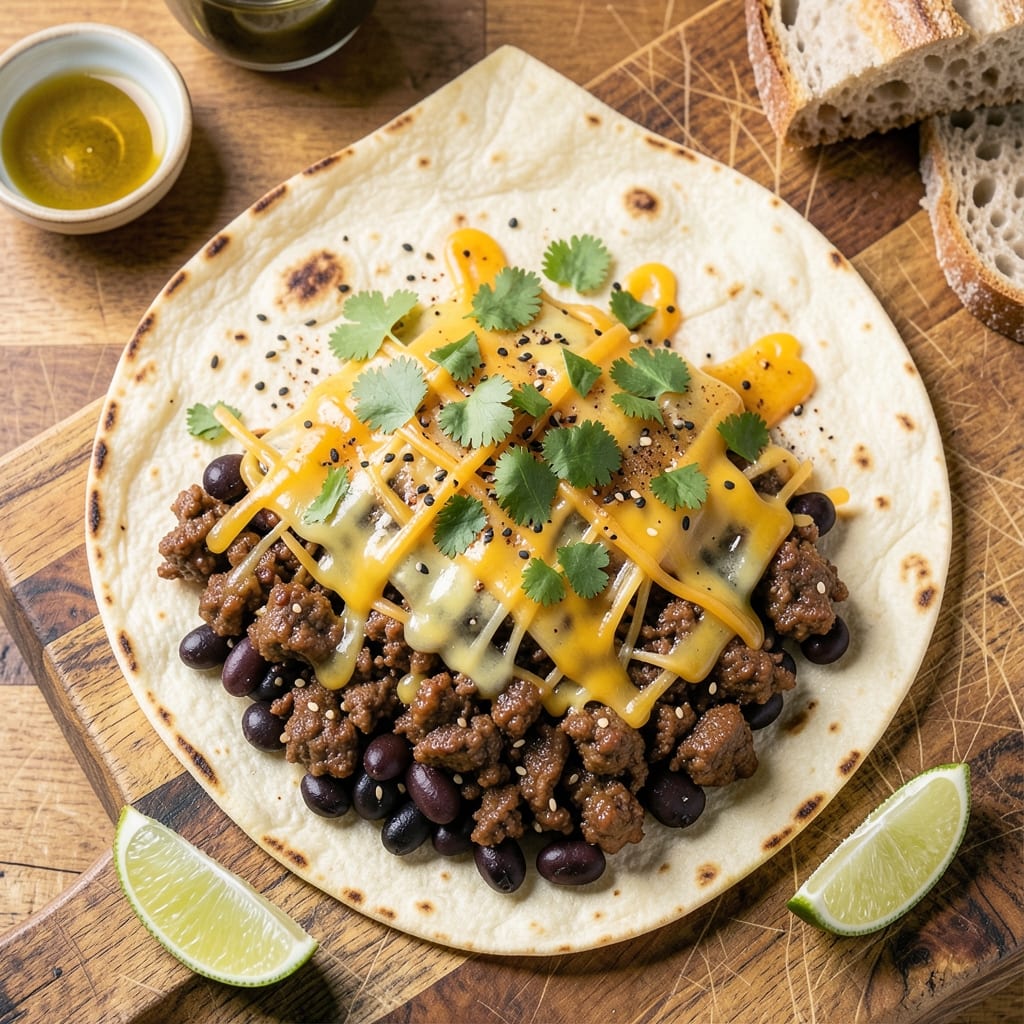
This beef and bean quesadilla recipe delivers the perfect balance of crispy tortilla edges and molten cheese rivers that make every bite irresistible. The secret starts with properly browning ground beef and seasoning it with cumin, chili powder, and garlic—building layers of flavor that transform simple ingredients into something restaurant-worthy. What sets this apart is the technique of layering beans, cheese, and protein between tortillas, then pressing them in a hot skillet until golden and sizzling.
The foundation begins with a quick sear of ground beef, breaking it apart just enough to create a tender yet flavorful base. Black beans add heartiness and texture, while melted cheddar and Monterey Jack create those signature rivers of gooey goodness that make quesadillas so satisfying. This method ensures each bite has the right combination of crispy tortilla, savory beef, and creamy cheese—no soggy centers here.
By the time you flip that first perfect quesadilla, you'll have a dish that's crispy on the outside, tender on the inside, and packed with bold flavors. The aroma alone—smoky from the beef, cheesy from the melted blend—will have everyone at your table asking for seconds. It's the kind of meal that feels indulgent but comes together in under 20 minutes.
Serve with sour cream, salsa, or guacamole for dipping, or keep it simple with a sprinkle of fresh cilantro. This recipe proves you don't need fancy ingredients to create a restaurant-quality meal—just the right technique and a hot skillet. Let's get cooking!
Ingredients for beef and bean quesadilla
Eight essential ingredients transform into crispy, cheesy quesadillas with restaurant-quality flavor.
| Ingredient | Amount | Notes |
|---|---|---|
| Ground Beef (80/20) 🥩 | 1 lb | Lean-to-fat ratio for flavor |
| Black Beans 🌱 | 1 ½ cups | Canned, drained and rinsed |
| Large Flour Tortillas 🌯 | 4 whole | 10-inch size preferred |
| Shredded Cheddar Cheese 🧀 | 1 ½ cups | Medium or sharp variety |
| Shredded Monterey Jack Cheese 🧀 | 1 cup | For creamy melt |
| Cumin 🌿 | 1 tsp | Ground for authentic flavor |
| Chili Powder 🌶️ | 1 ½ tsp | Medium heat preferred |
| Garlic Powder 🧄 | ½ tsp | Not garlic salt |
| Salt 🧂 | ½ tsp | Kosher or sea salt |
| Black Pepper 🌶️ | ¼ tsp | Freshly ground preferred |
| Olive Oil 🫒 | 1 tbsp | For skillet cooking |
| Fresh Cilantro 🌿 | ¼ cup | Chopped, for garnish |
| Sour Cream 🥛 | ¼ cup | For serving (optional) |
The ground beef is where the flavor foundation starts. 80/20 lean-to-fat ratio gives you that perfect balance of tenderness and richness—90% lean will dry out. Most grocery stores carry this in the meat section, but if you're at Costco or Walmart, grab the family-sized bag. For the beans, canned black beans work perfectly, but if you're feeling fancy, cook your own. Look for brands like Goya or Bush's for the best texture. The tortillas? Mission or La Tortilla Factory are my go-tos—they hold up best when grilling without tearing. Buy a pack of 10-inch size for that perfect balance of crispiness and bite.
No black beans? Pinto beans or kidney beans will work in a pinch, but black beans give that authentic Mexican texture. Running low on cumin? Smoked paprika at half the amount adds depth. The cheese blend is key—Monterey Jack melts creamier than cheddar, so don't skip it. For a quick swap, Oaxaca cheese (if you can find it) melts like a dream. Fresh cilantro is ideal, but dried oregano at one-third the amount works if you're out. The sour cream is optional but adds that tangy contrast—Breakstone's or Kroger's are my grocery store favorites. If you're watching calories, use Greek yogurt instead—same tang, fewer carbs.
Store your ground beef in the coldest part of the fridge and use within 2 days for best flavor. Tortillas keep well in a cool, dark pantry for 2 weeks, but once opened, transfer them to the fridge. The cheese blend stays fresh for 3 months in the fridge, but if you're prepping ahead, freeze the quesadillas (without assembly) for up to 2 months. To reheat, warm in a dry skillet over medium heat for 2-3 minutes per side. Pro tip: Assemble the quesadillas right before cooking—they're best served piping hot with that crispy crust and melty cheese rivers still flowing.
Why You'll Love This Recipe
- Five-Ingredient Magic: I swear by this combo—ground beef (80/20 for that fat flavor), black beans, and two cheeses. Honestly, the tortillas are the only thing I measure, and even then, I eyeball it.
- Crispy-Creamy Obsession: That first bite? Crunchy tortilla edges hugging melty Monterey Jack and cheddar, with the beef and beans adding hearty, savory depth. Not the prettiest, but the taste makes up for it every time.
- Lunchbox Hero: Between us, these are my go-to for meal prep. Pack them cold or reheat—either way, they hold up. My kid’s school lunchbox gets these twice a week, and she never complains.
- Budget Win: Ground beef and beans stretch across multiple meals, and the cheese goes a long way when you layer it right. I’ll be real: this recipe saves me $20 a week compared to takeout.
Step-by-step instructions for beef and bean quesadillas
Master the perfect balance of crispy tortillas and melty cheese with these foolproof instructions.
Season and Cook the Ground Beef
Heat the 1 tablespoon olive oil in a large skillet over medium-high heat. Add the 1 pound ground beef (80/20) and cook, breaking it apart with a wooden spoon, until it loses its raw color and begins to brown—this should take about 5-6 minutes. The fat will render out, creating flavorful juices that prevent sticking.
Once the beef is browned, drain most of the fat, leaving about 1 tablespoon in the pan. Add the 1.5 teaspoons chili powder, 1 teaspoon cumin, ½ teaspoon garlic powder, ½ teaspoon salt, and ¼ teaspoon black pepper, stirring to coat the beef evenly. Cook for another 1-2 minutes until the spices are fragrant and the beef is fully cooked through. Remove from heat and set aside.
Warm and Season the Black Beans
In the same skillet (no need to clean it—the beefy bits add flavor), add the 1½ cups black beans over medium heat. Warm them for 2-3 minutes, stirring occasionally, until heated through. The beans should be slightly crispy around the edges, adding texture to your filling. Season with an extra pinch of salt if needed, then remove from the heat and mix in the cooked beef.
This step ensures the beans are warm and their edges slightly crisp, which contrasts beautifully with the creamy cheese and tender beef. If the beans seem too dry, add 1-2 tablespoons of water to loosen them slightly.
Assemble the Quesadillas for Maximum Crispiness
Place the 4 large flour tortillas on a clean surface. Divide the beef and bean mixture evenly among them, spreading it thinly over the bottom half of each tortilla—about ¼ of the mixture per tortilla. Sprinkle ½ cup shredded cheddar cheese and ¼ cup shredded Monterey Jack cheese evenly over the beef mixture on each tortilla.
Fold the tortillas in half, pressing gently but firmly to seal the edges. The cheese should melt and create rivers as it cooks, so don’t overstuff them. If the filling spills out, adjust the amount slightly for the next tortilla. Place the assembled quesadillas on a clean plate, covered with a clean kitchen towel to keep them warm.
Cook Until Golden Brown and Cheesy
Heat a clean skillet over medium heat (no oil needed—the tortillas will release their own fat). Cook one quesadilla at a time for 2-3 minutes per side, pressing down gently with a spatula for 10-15 seconds during the first minute to ensure even contact with the pan. You want the tortillas to develop a deep golden brown color and crispy texture—this is your signal for perfection.
Watch closely as the cheese begins to melt and bubble. The edges should turn golden and crispy while the center remains soft and gooey. If a tortilla releases easily from the pan, it’s ready to flip. Transfer the cooked quesadilla to a plate and tent loosely with foil to keep it warm while you cook the remaining ones.
Garnish and Serve Immediately
Cut each quesadilla into 4 wedges and arrange them on a serving platter. Garnish with ¼ cup chopped fresh cilantro and serve with ¼ cup sour cream on the side for dipping. The contrast of crispy tortilla, creamy cheese, and tender beef creates a satisfying bite every time.
For best results, serve immediately while the tortillas are still crispy and the cheese is melty. If you need to reheat, warm in a dry skillet over medium heat for 1-2 minutes per side until crispy again. Enjoy your perfectly balanced quesadillas!
Pro Tips For Making Beef And Bean Quesadilla
- Preheat Pan Like It’s Your Job: I learned this the hard way—skipping a screaming-hot skillet means soggy tortillas and sad cheese. Get your pan ripping hot for 3-4 minutes before adding the first quesadilla, then turn it down to medium-high. That first sear locks in the crust faster than you can say "melty cheese."
- Drain and Rinse Those Beans: Canned black beans are a lifesaver, but they’re also a moisture bomb. Drain them thoroughly, then give them a quick rinse under cold water to cut the gloop. Pat them dry with a towel—this keeps your filling from turning into a wet, sad pile instead of a crispy, cheesy sandwich.
- Layer Cheese Like a Pro: Monterey Jack melts like a dream, but cheddar adds that sharp bite. Split your cheese: use Monterey Jack inside the tortilla (where it’ll melt evenly) and sprinkle cheddar on the outside for that golden, gooey crust. Too much cheese? It’ll ooze out like a toddler’s milkshake.
- Press and Flip Once: The moment you put that tortilla in the pan, press down hard with a spatula for 10 seconds—this seals the filling and prevents leaks. Flip only once when the bottom is golden and crispy (about 2-3 minutes). Resist the urge to flip early; you’ll end up with a cheese volcano on your hands.
Perfect pairings for this beef and bean quesadilla
Crispy Side Dishes
Start with Mexican street corn salad—grill 2 ears of corn, brush with 1 tbsp lime juice, and mix with ¼ cup cotija cheese, 1 tbsp chili powder, and 2 tbsp chopped cilantro. The smoky, spicy contrast to your quesadillas is unbeatable. 🌽
Fresh Toppings
Add avocado slices and pickled red onions for a cool, tangy bite. I slice 1 ripe avocado into wedges and quick-pickle ½ red onion in ½ cup vinegar with 1 tsp salt for 15 minutes. The creamy avocado balances the crispy quesadilla perfectly.
Dipping Sauces
Serve with smoky chipotle crema—mix ½ cup sour cream with 1 tsp adobo sauce and 1 tsp lime juice. For a lighter option, try mango salsa: blend 1 cup diced mango, ¼ cup red onion, 2 tbsp cilantro, and 1 tbsp lime juice. Both add vibrant flavors that complement the quesadilla’s richness.
Warm Additions
Top with crispy chorizo—cook 4 oz chorizo in a skillet until golden, then crumble over the quesadillas. For extra heat, add jalapeño slices sautéed in 1 tbsp butter for 2 minutes. These additions elevate the dish with bold, savory notes.
Beverage Pairings
Pair with Mexican lager like Modelo Especial—its crisp, clean finish cuts through the richness. For a non-alcoholic option, try horchata, a sweet cinnamon-rice drink that balances the spicy flavors. The cool, creamy texture contrasts beautifully with the warm quesadillas. 🍺
Nutrition facts
Frequently asked questions
Can I use ground turkey or chicken instead of beef?
Ground turkey (especially 93% lean) or chicken work well, but you'll need to adjust cooking times. Since poultry cooks faster, remove it from the pan once it reaches 165°F (about 3-4 minutes for turkey/chicken vs. 5-6 minutes for beef). The spices will still infuse beautifully, and the texture remains tender. Just watch closely to avoid drying it out.
What if my quesadilla is soggy instead of crispy?
Soggy quesadillas usually happen from overfilling, undercooking, or using too much moisture. First, make sure your tortillas aren't wet—pat them dry before assembling. Second, cook on medium heat (not high) and press gently with a spatula for 10-15 seconds during the first minute to create crispy edges. Finally, don't overstuff—¼ of the filling per tortilla is perfect. If it's already soggy, pop it in a 350°F oven for 2-3 minutes to crisp up.
How do I make these ahead of time?
You can prep components in advance! Cook the beef and bean mixture up to 2 days ahead and store it in the fridge. Assemble the quesadillas (without cheese) and wrap tightly in plastic wrap—store for 1 day in the fridge. To cook, add cheese just before grilling in a hot skillet. For freezing, assemble fully (with cheese) and freeze uncooked quesadillas for up to 2 months. Thaw overnight in the fridge, then cook from frozen in a skillet over medium heat for 3-4 minutes per side.
What’s the best cheese substitute if I don’t have cheddar or Monterey Jack?
For a melty, flavorful swap, try Oaxaca cheese (if available) or a mix of pepper jack and mozzarella. If you're avoiding dairy, nutritional yeast (¼ cup) adds a cheesy flavor, or use dairy-free shreds like Violife. Just note that dairy-free cheeses may not melt as dramatically. For a budget option, Velveeta melts beautifully and works in a pinch!
Can I make these in an air fryer?
Yes! Preheat your air fryer to 375°F. Assemble the quesadillas as directed, then place them in the air fryer basket (no oil needed). Cook for 4-5 minutes per side, flipping halfway, until golden and crispy. The air fryer creates a lighter, crispier texture than a skillet—just watch closely to avoid burning. For extra crispiness, spray the tortillas lightly with oil before air frying.